Typesense UI (Beta)
An OpenSource user interface for Typesense self-hosted instance.
All the available features are compatible with Typesense version 26.0
Table of Contents
- 🧑🏻💻
- 🔐
- 🌐
🧑🏻💻 Development
Start Typesense Server
Step 1: Clone the repo
Step 2: Goto Scripts
Step 3: Create .env file
you can change the values in .env
Step 4: Start Typesense server
Step 5: Check Typesense is up and running
In case you have changed the value in Step 3 then change the value here as well.
Start Typesense-UI
Goto typesense-ui root directory
Step 2: Create .env file
In case you have changed the values in Typesense Step 3 then update the same
here as well.
Step 3: Install NextJS dependencies
In case you are not using bun then delete bun.lockb and run the
dependencies installation command accordingly.
Step 4: Start the App
Run the command according to your package manager if not using bun
Step 5: Visit
🔐 Authentication
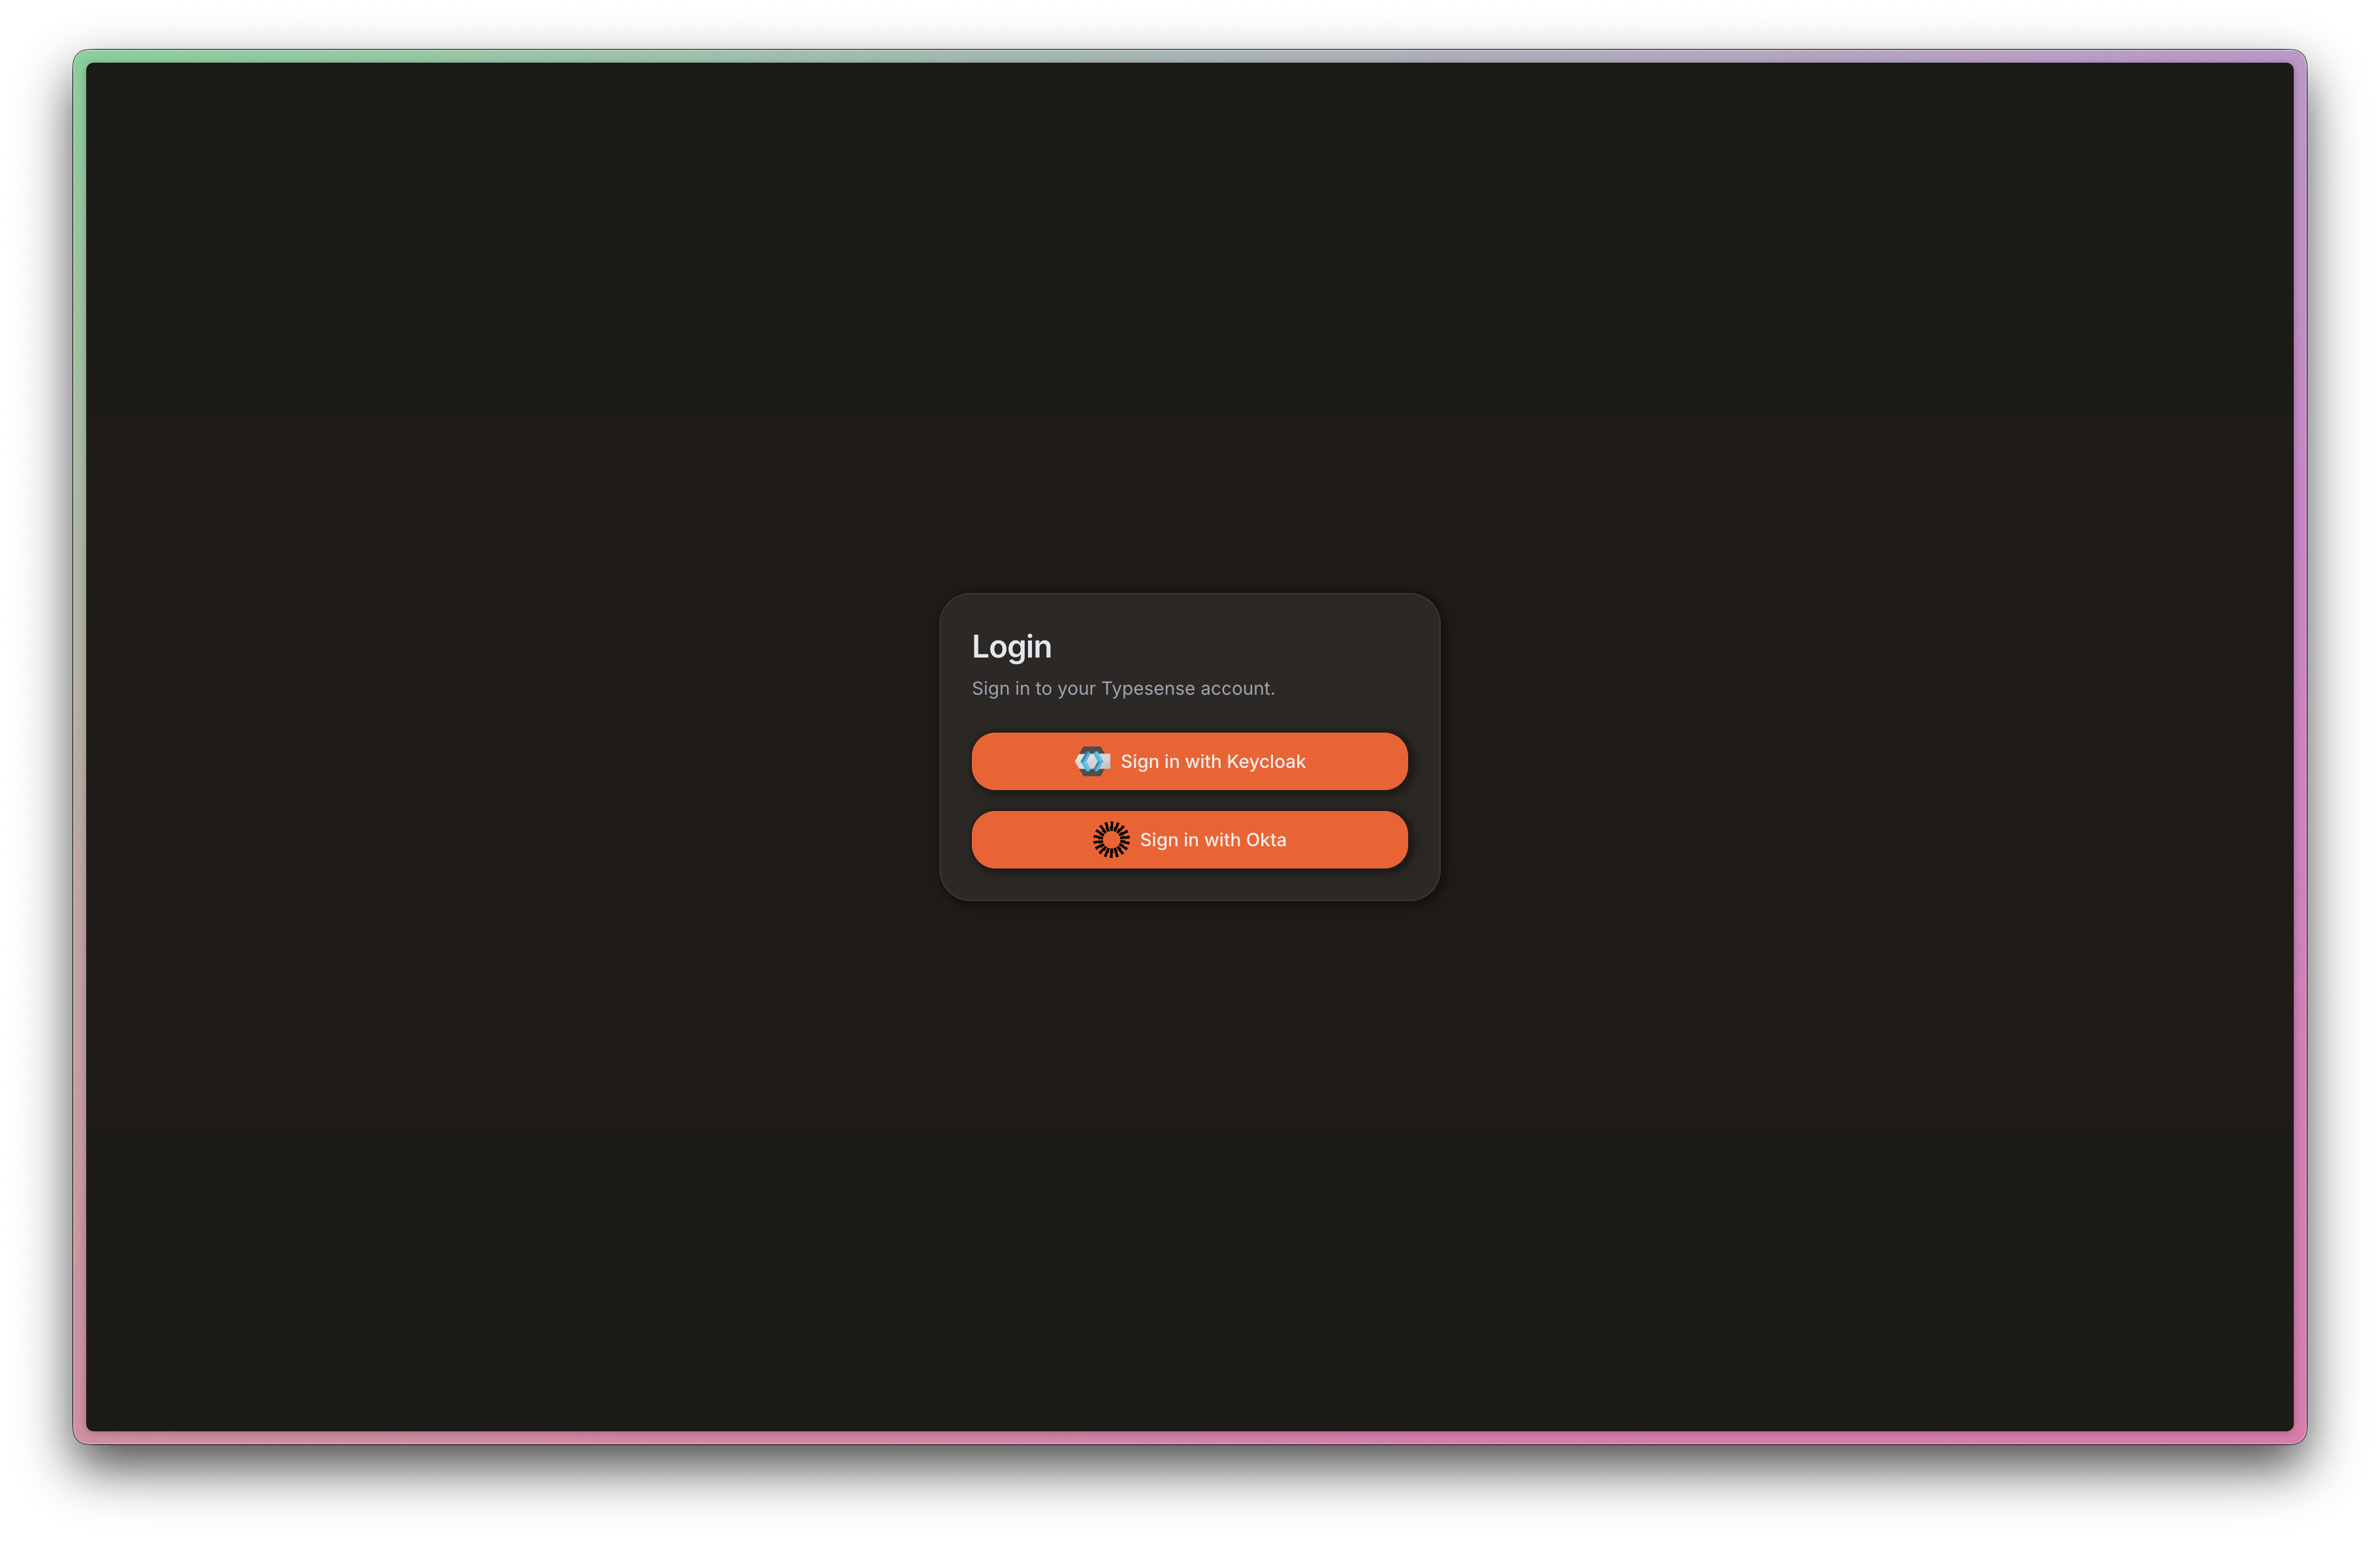
Currently, there is two authentication providers supported.
- Keycloak
- Okta
If you want any other authentication provider to be supported, then you can raise a feature request
Whichever authentication providers' environment variables are set only those will appear on the login page.
You can check the .env-example file for the environment variables.
🌐 Production Deployment
Download the latest release code from and then extract the files.
Set the proper environment variables either in .env or make it available in
the environment by exporting the variables. Now, you can build the docker image
using following command and then use the same.
The point is that for self-hosting this NextJS app, you can use this Dockerfile to build the image.
Example pages
-
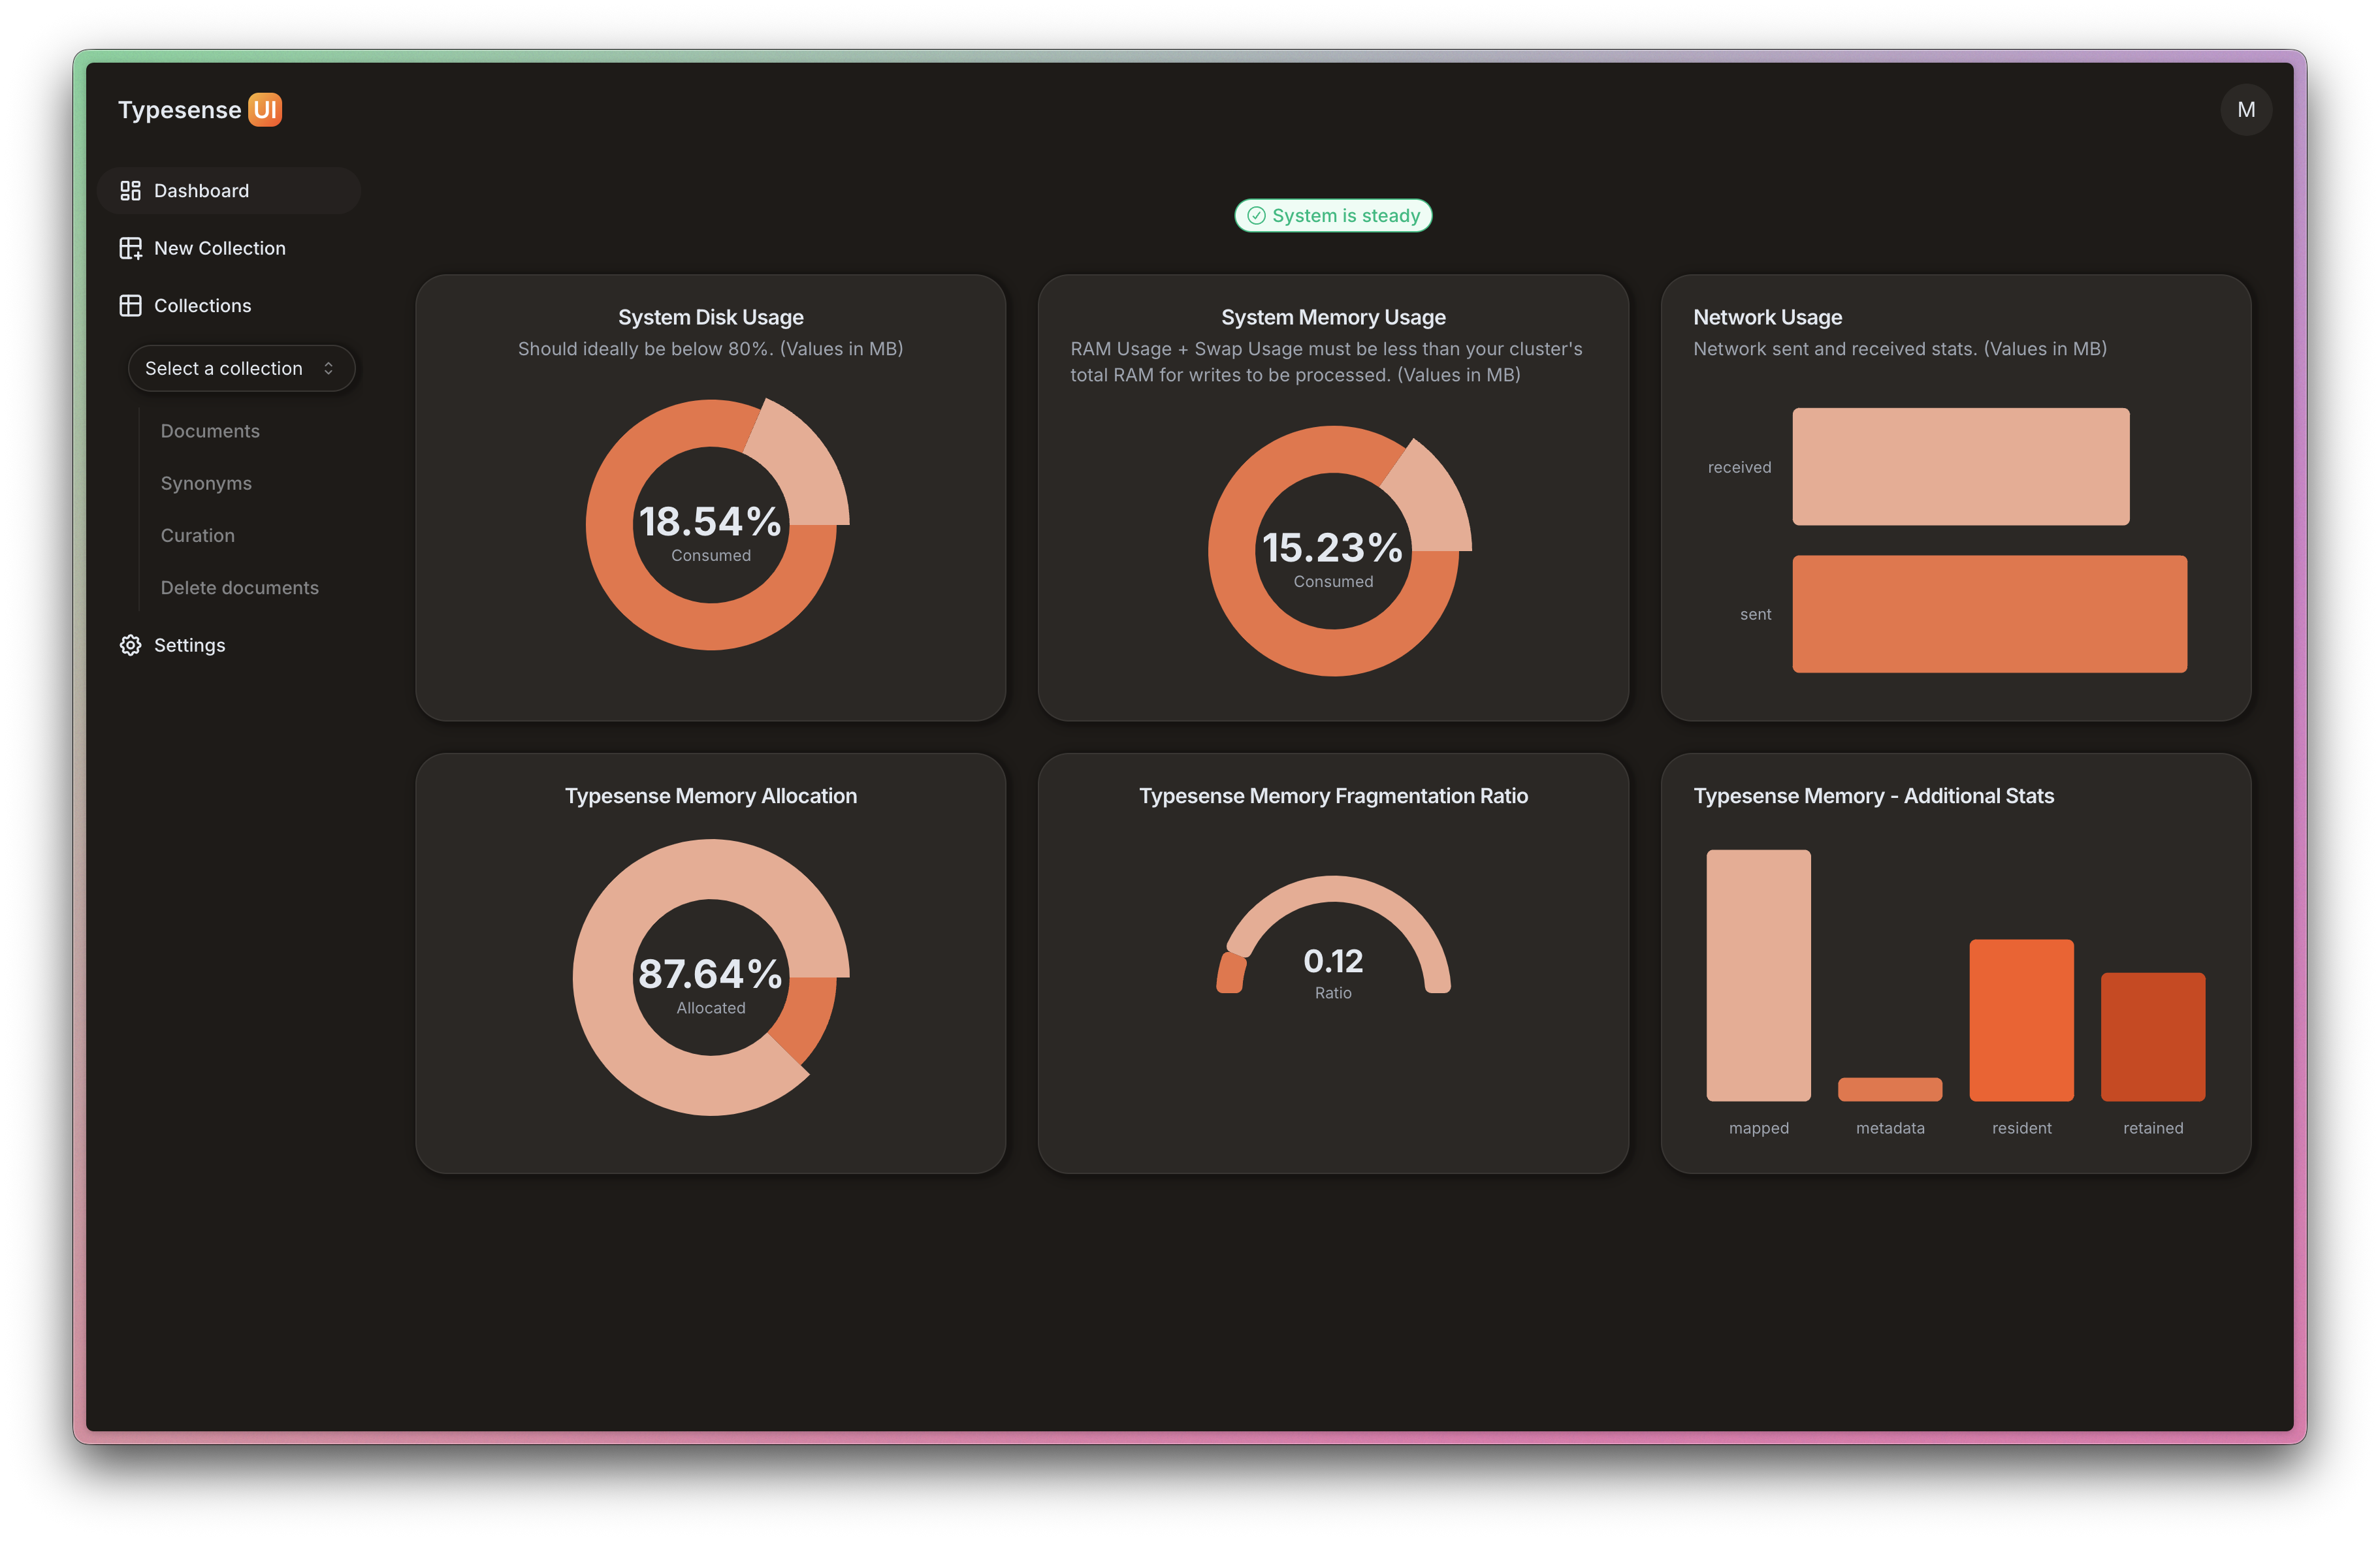
Dashboard
-
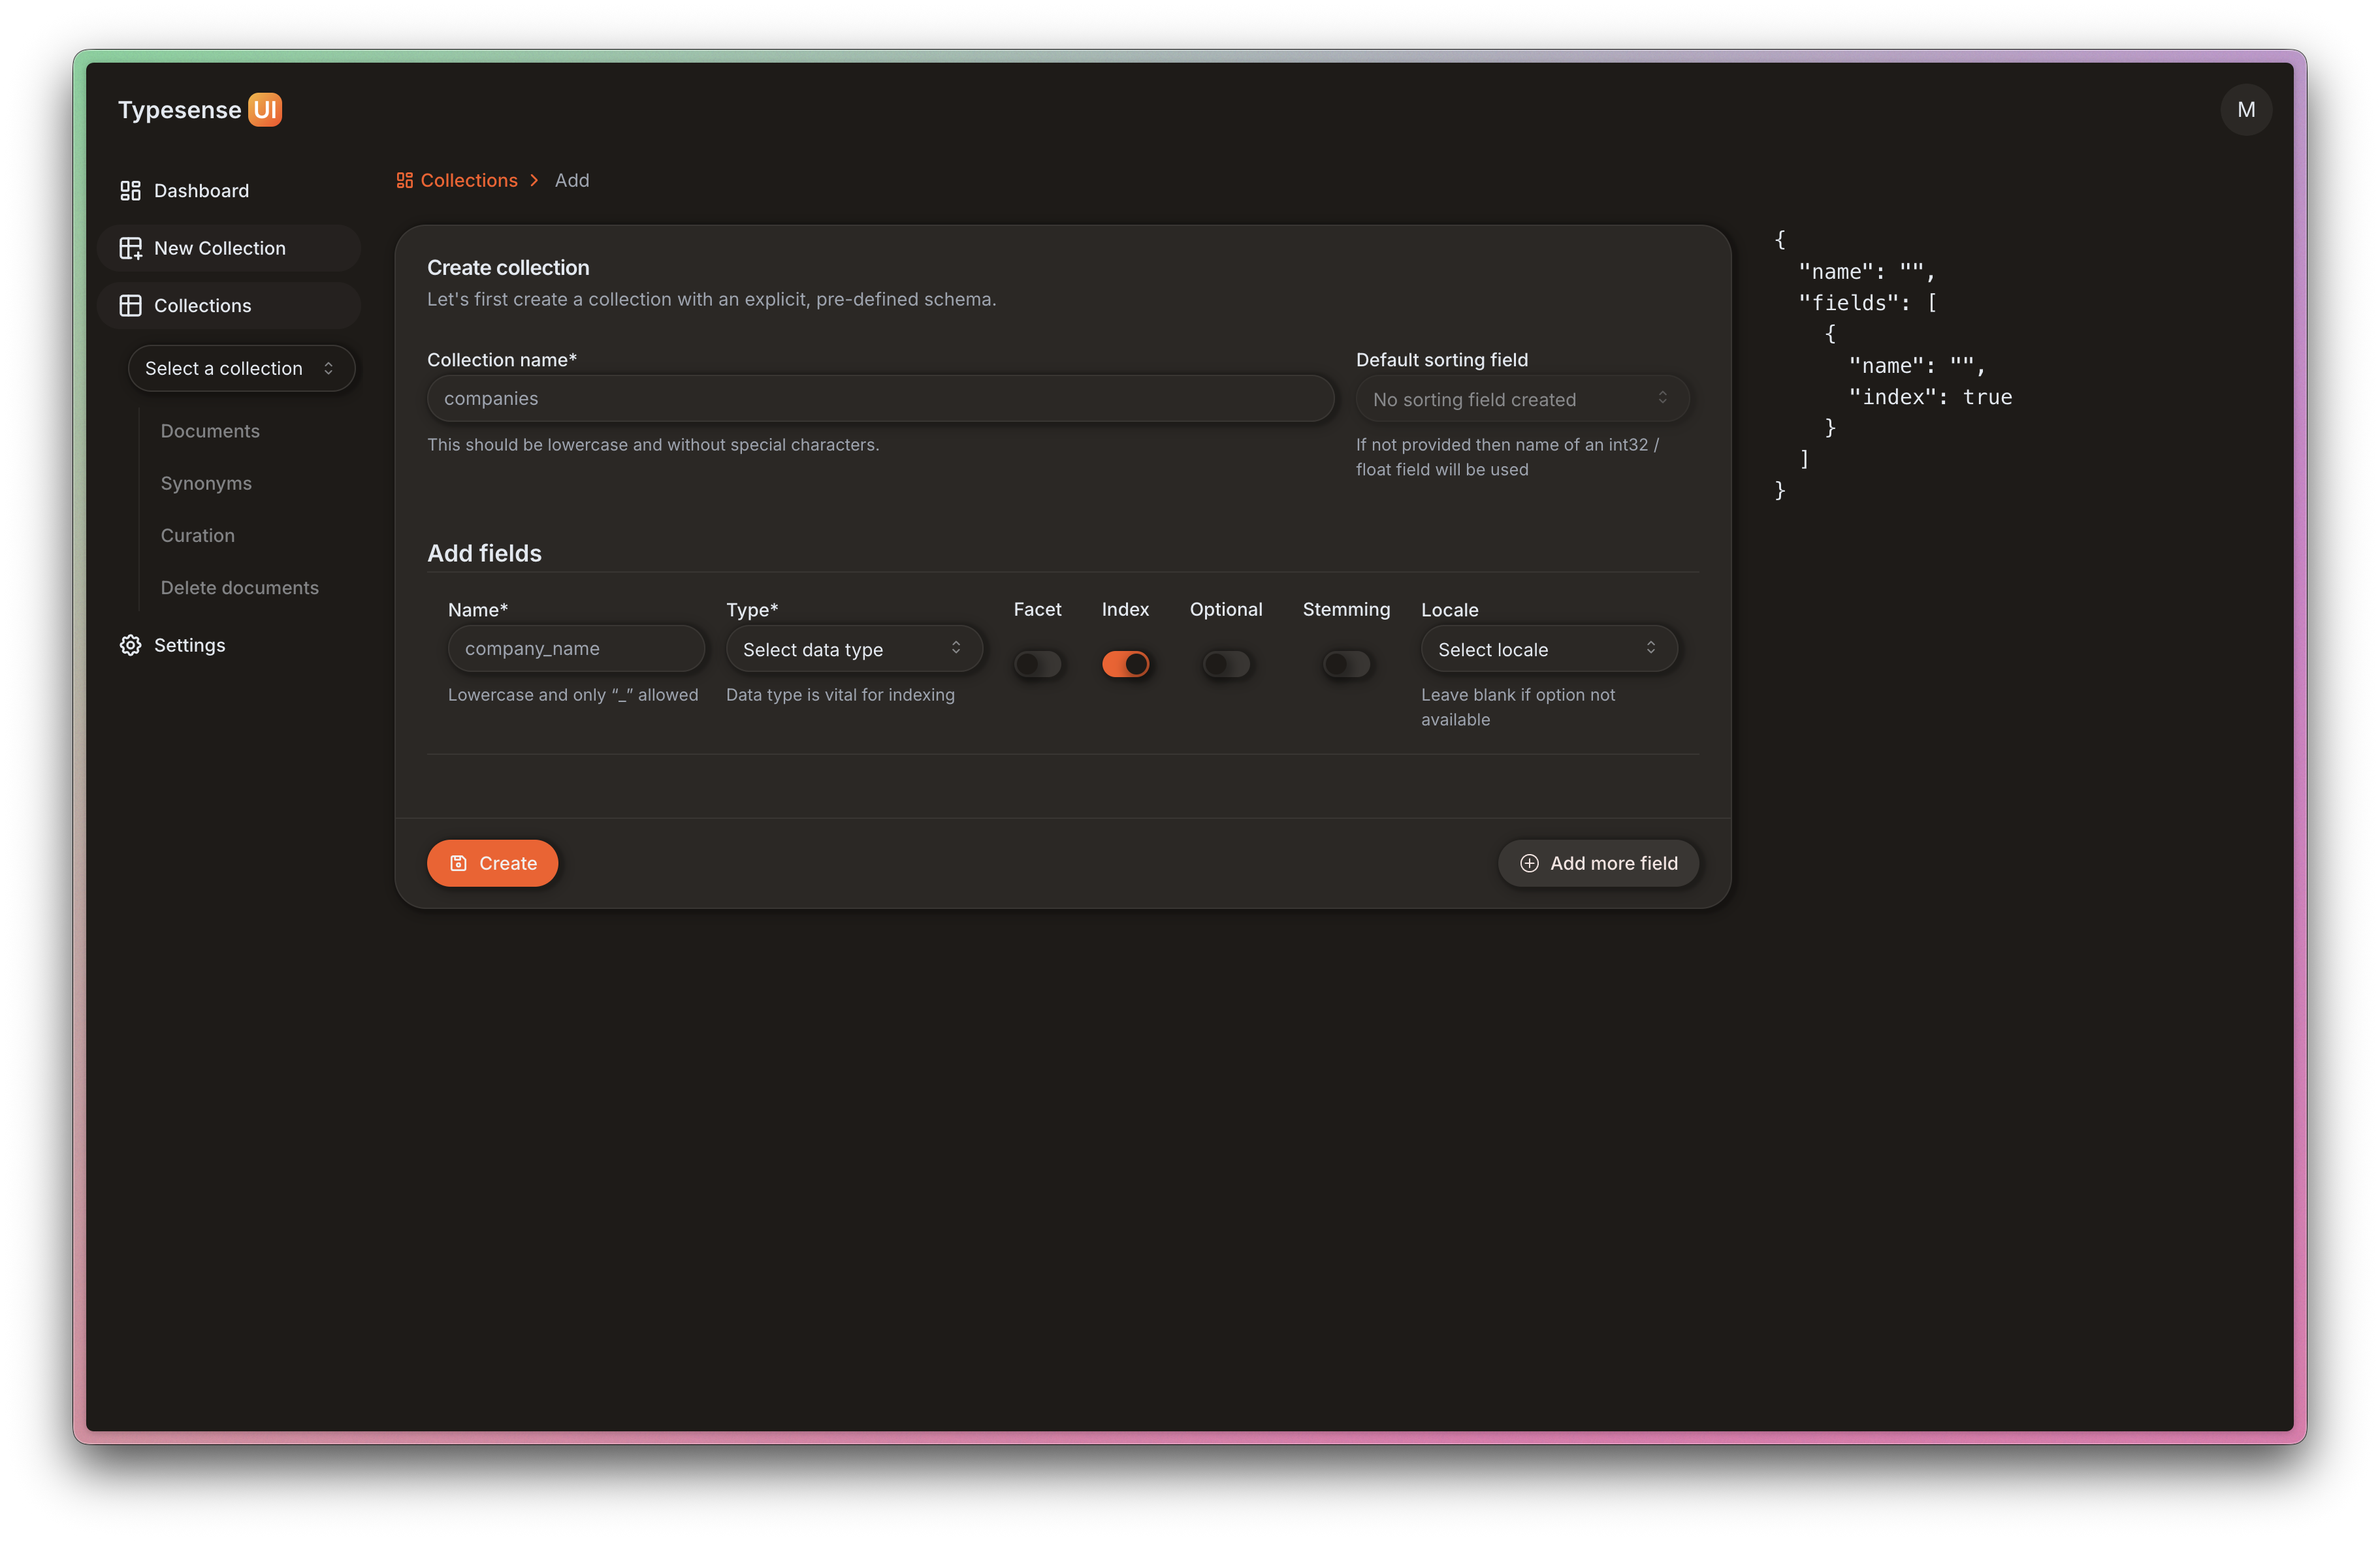
Create New Collection
-
Collections List
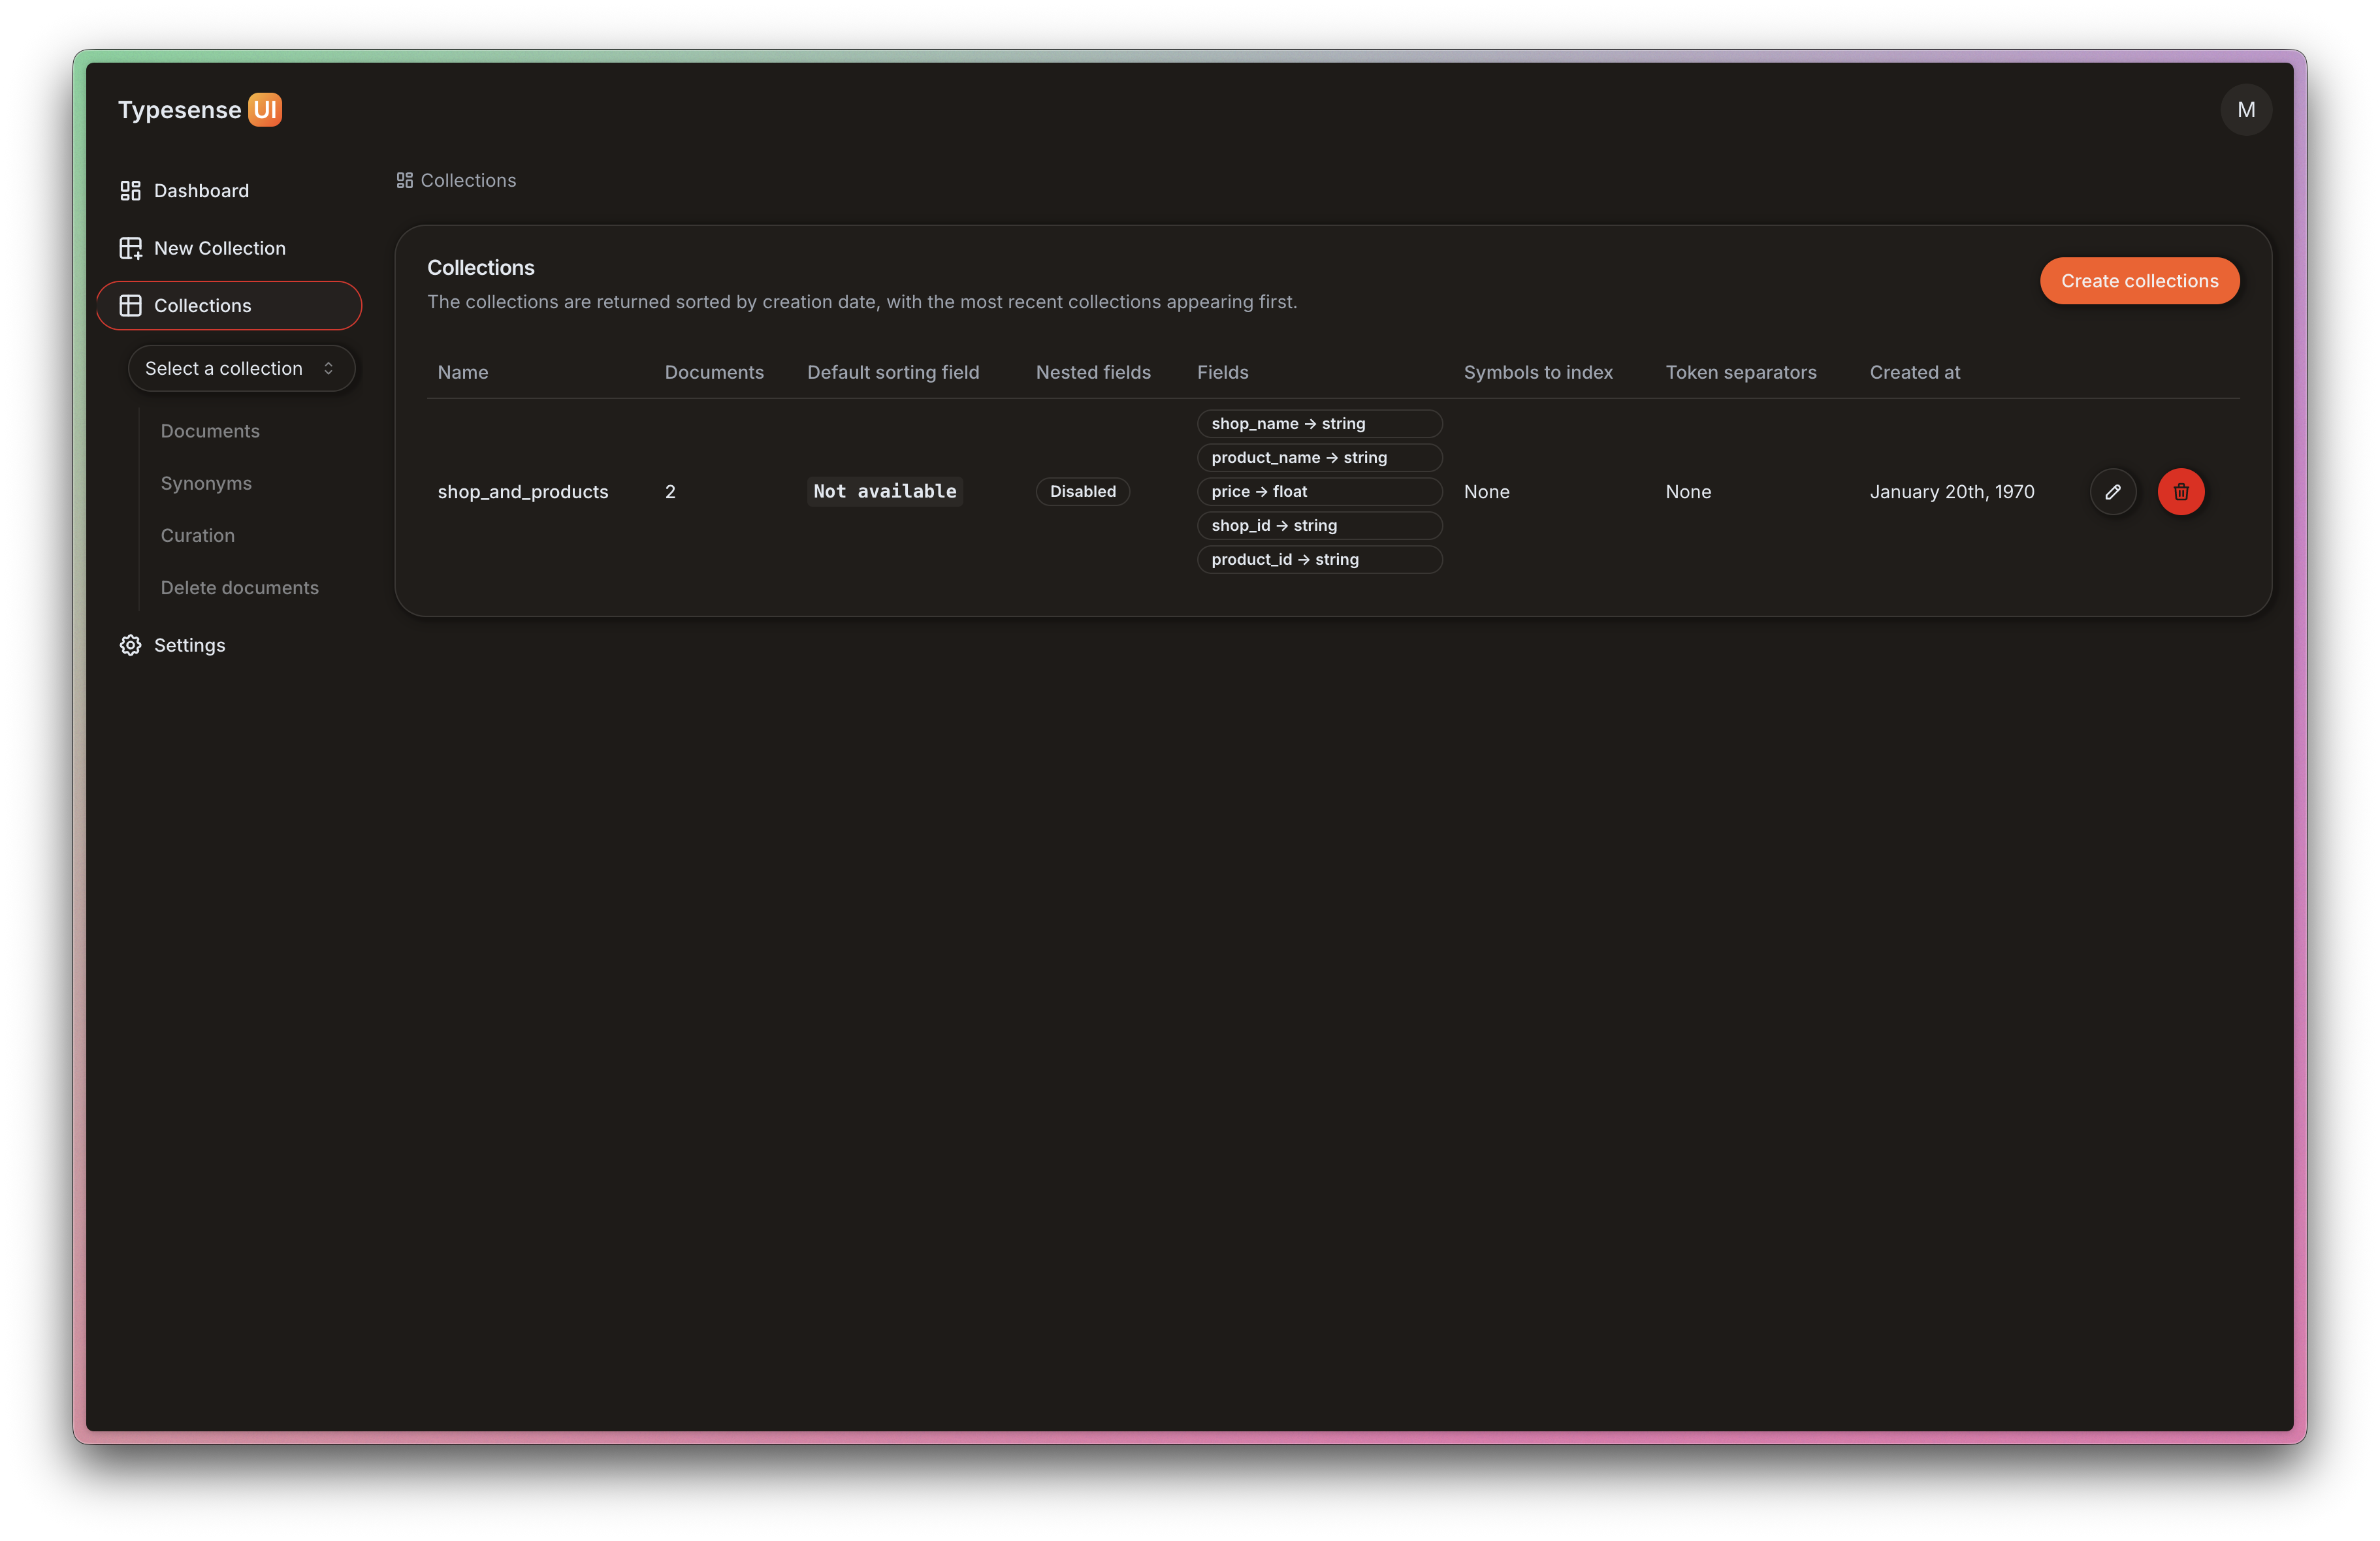
-
Documents List
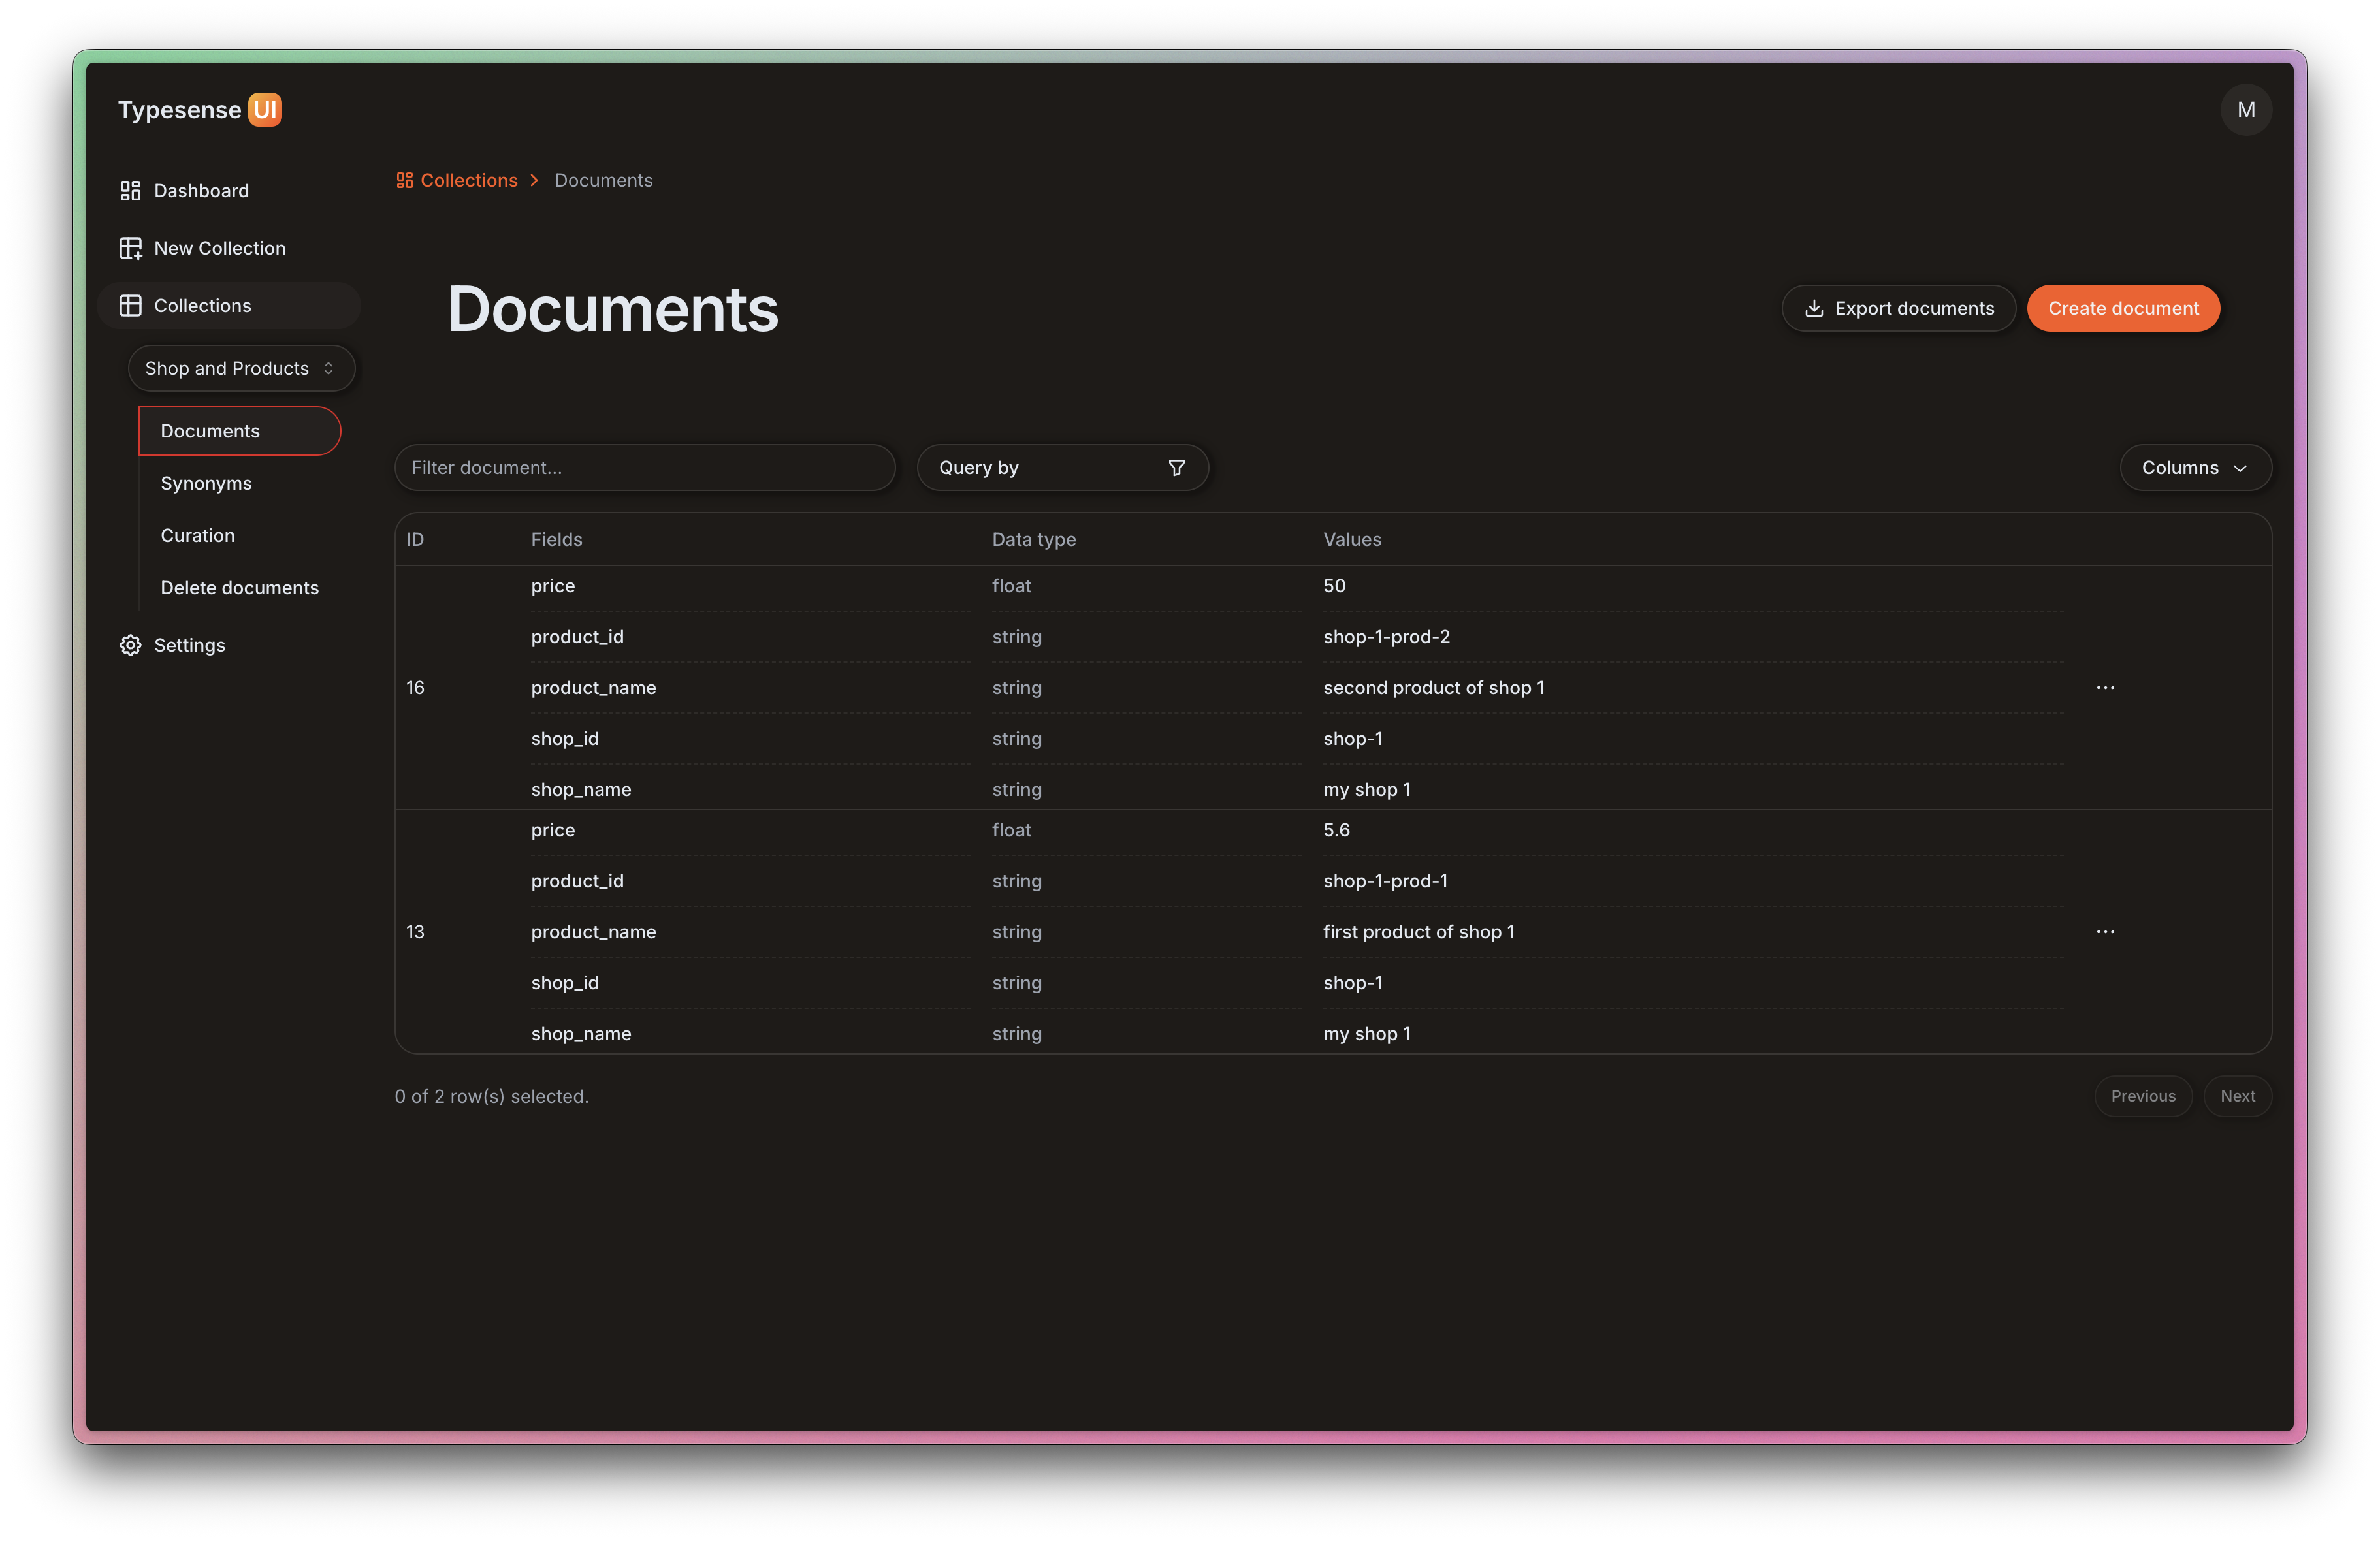
-
Delete Documents
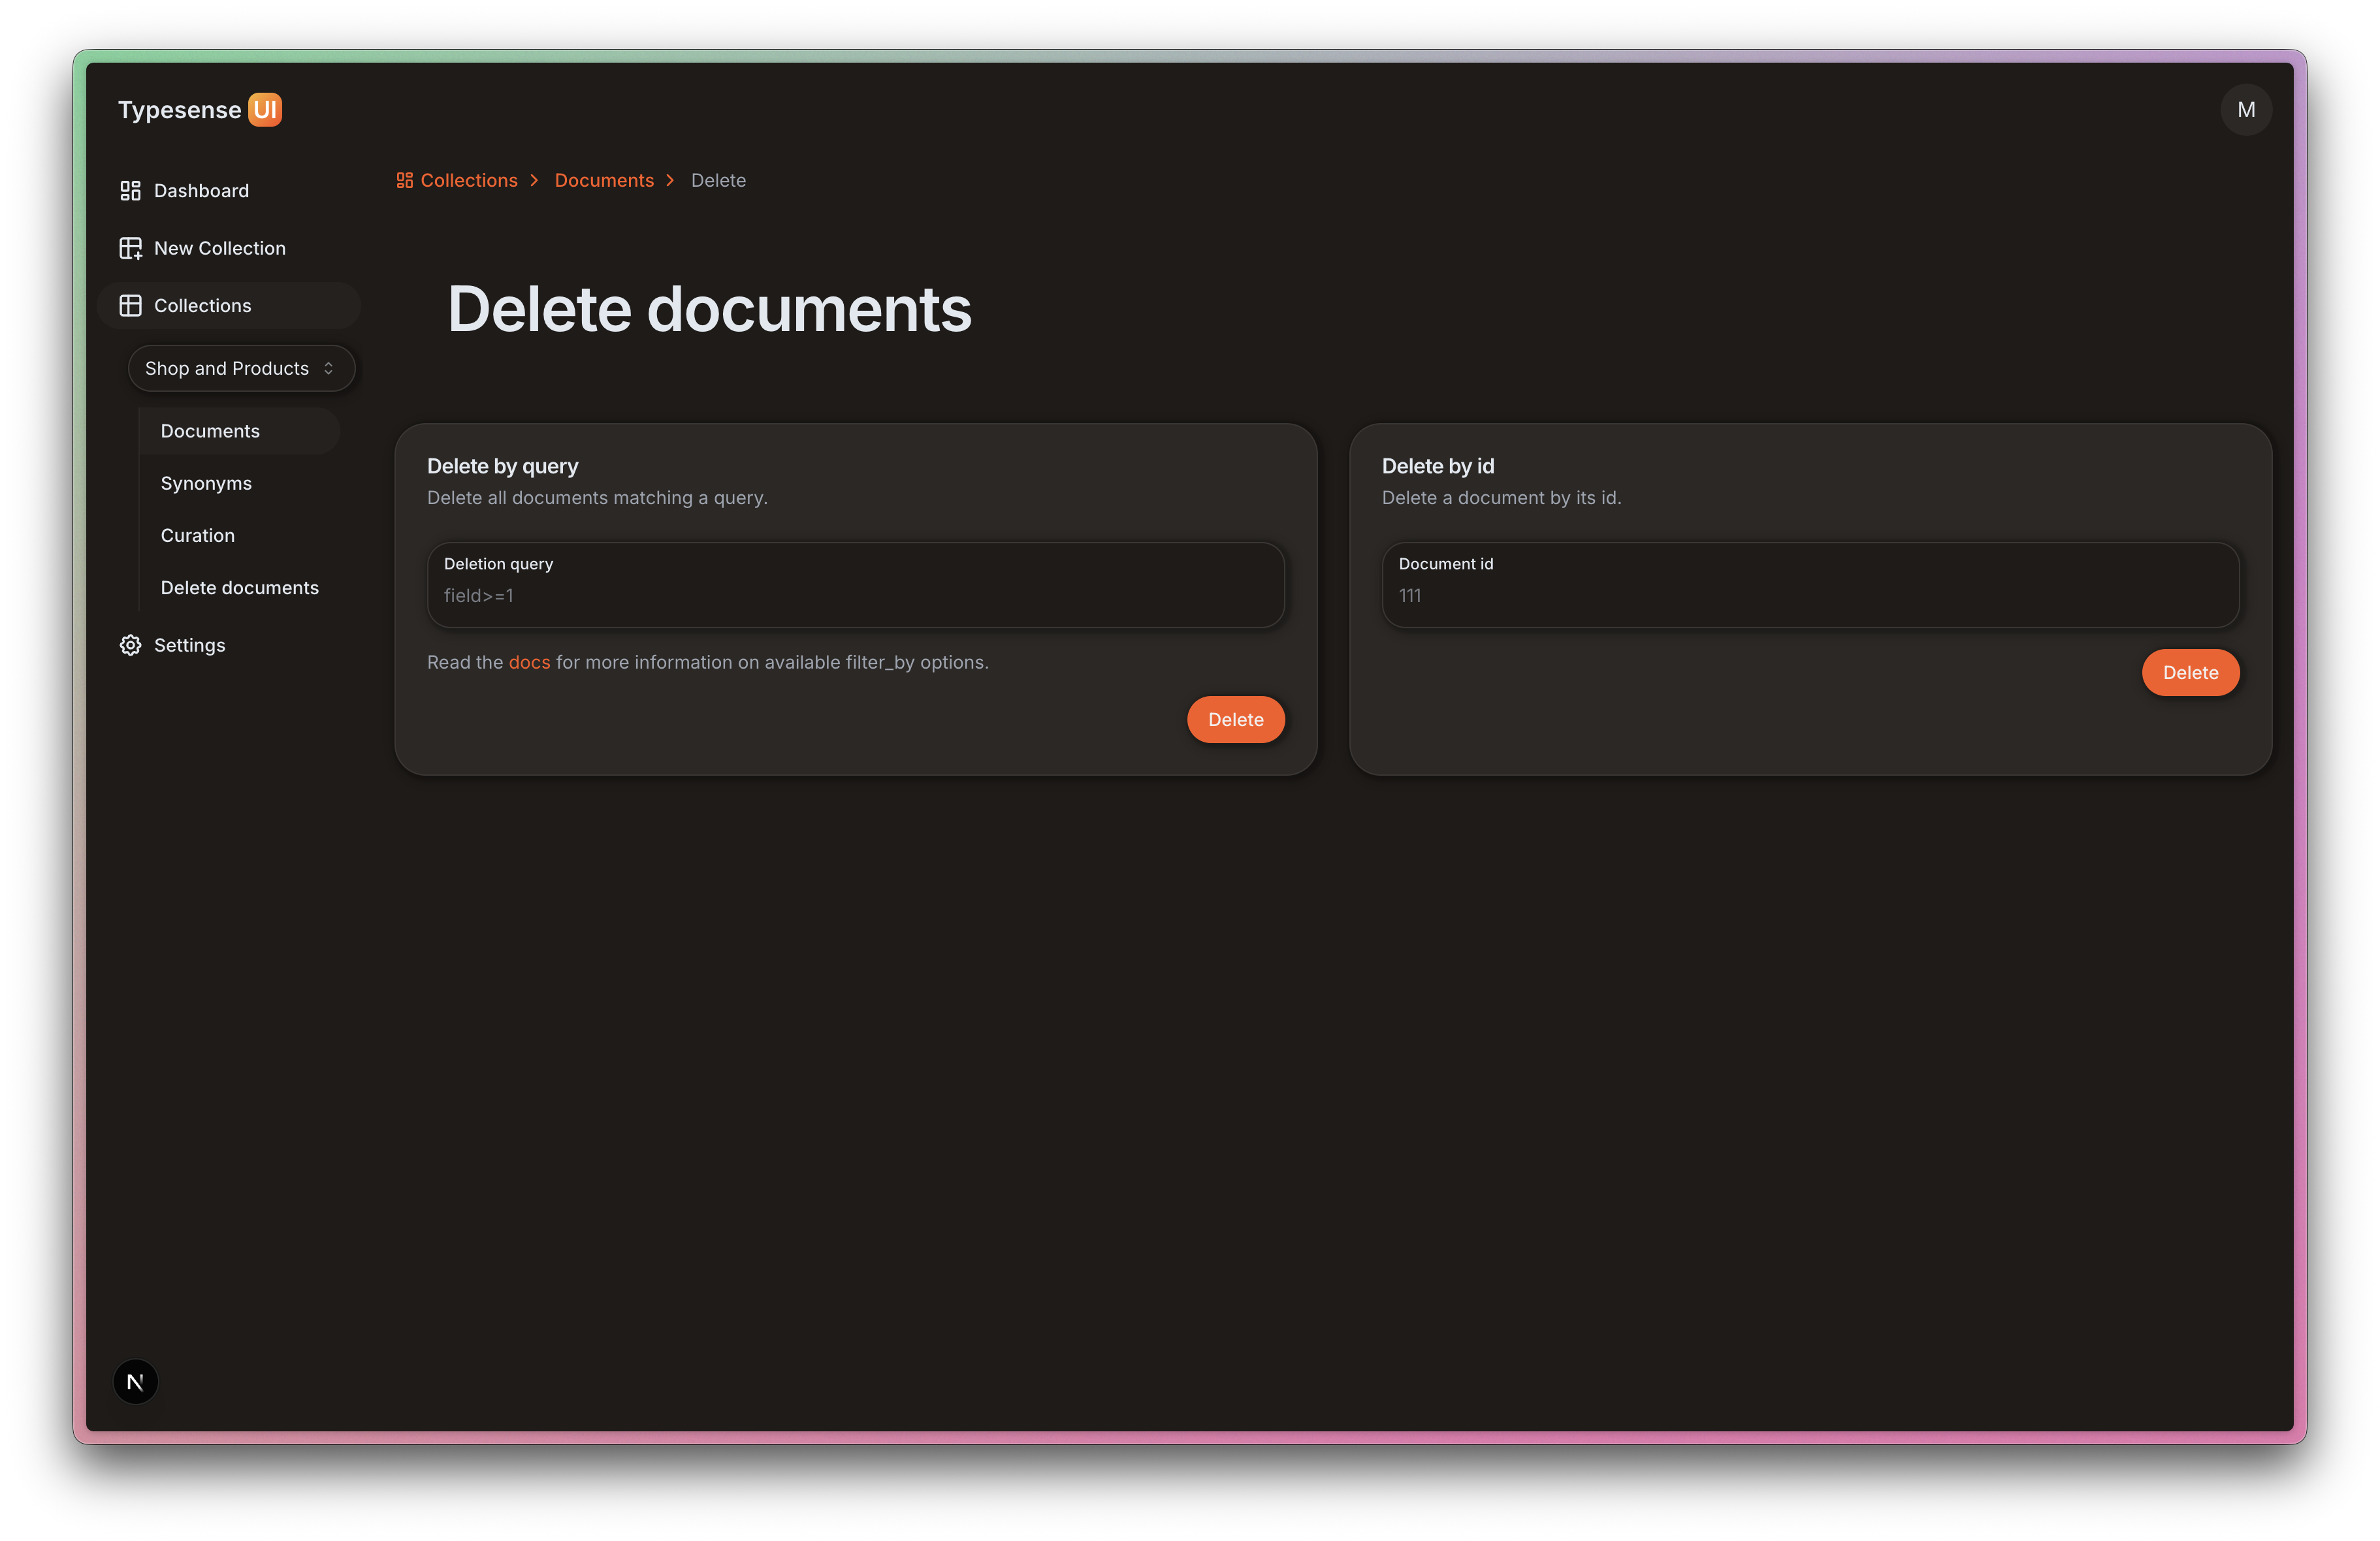
-
Synonyms List
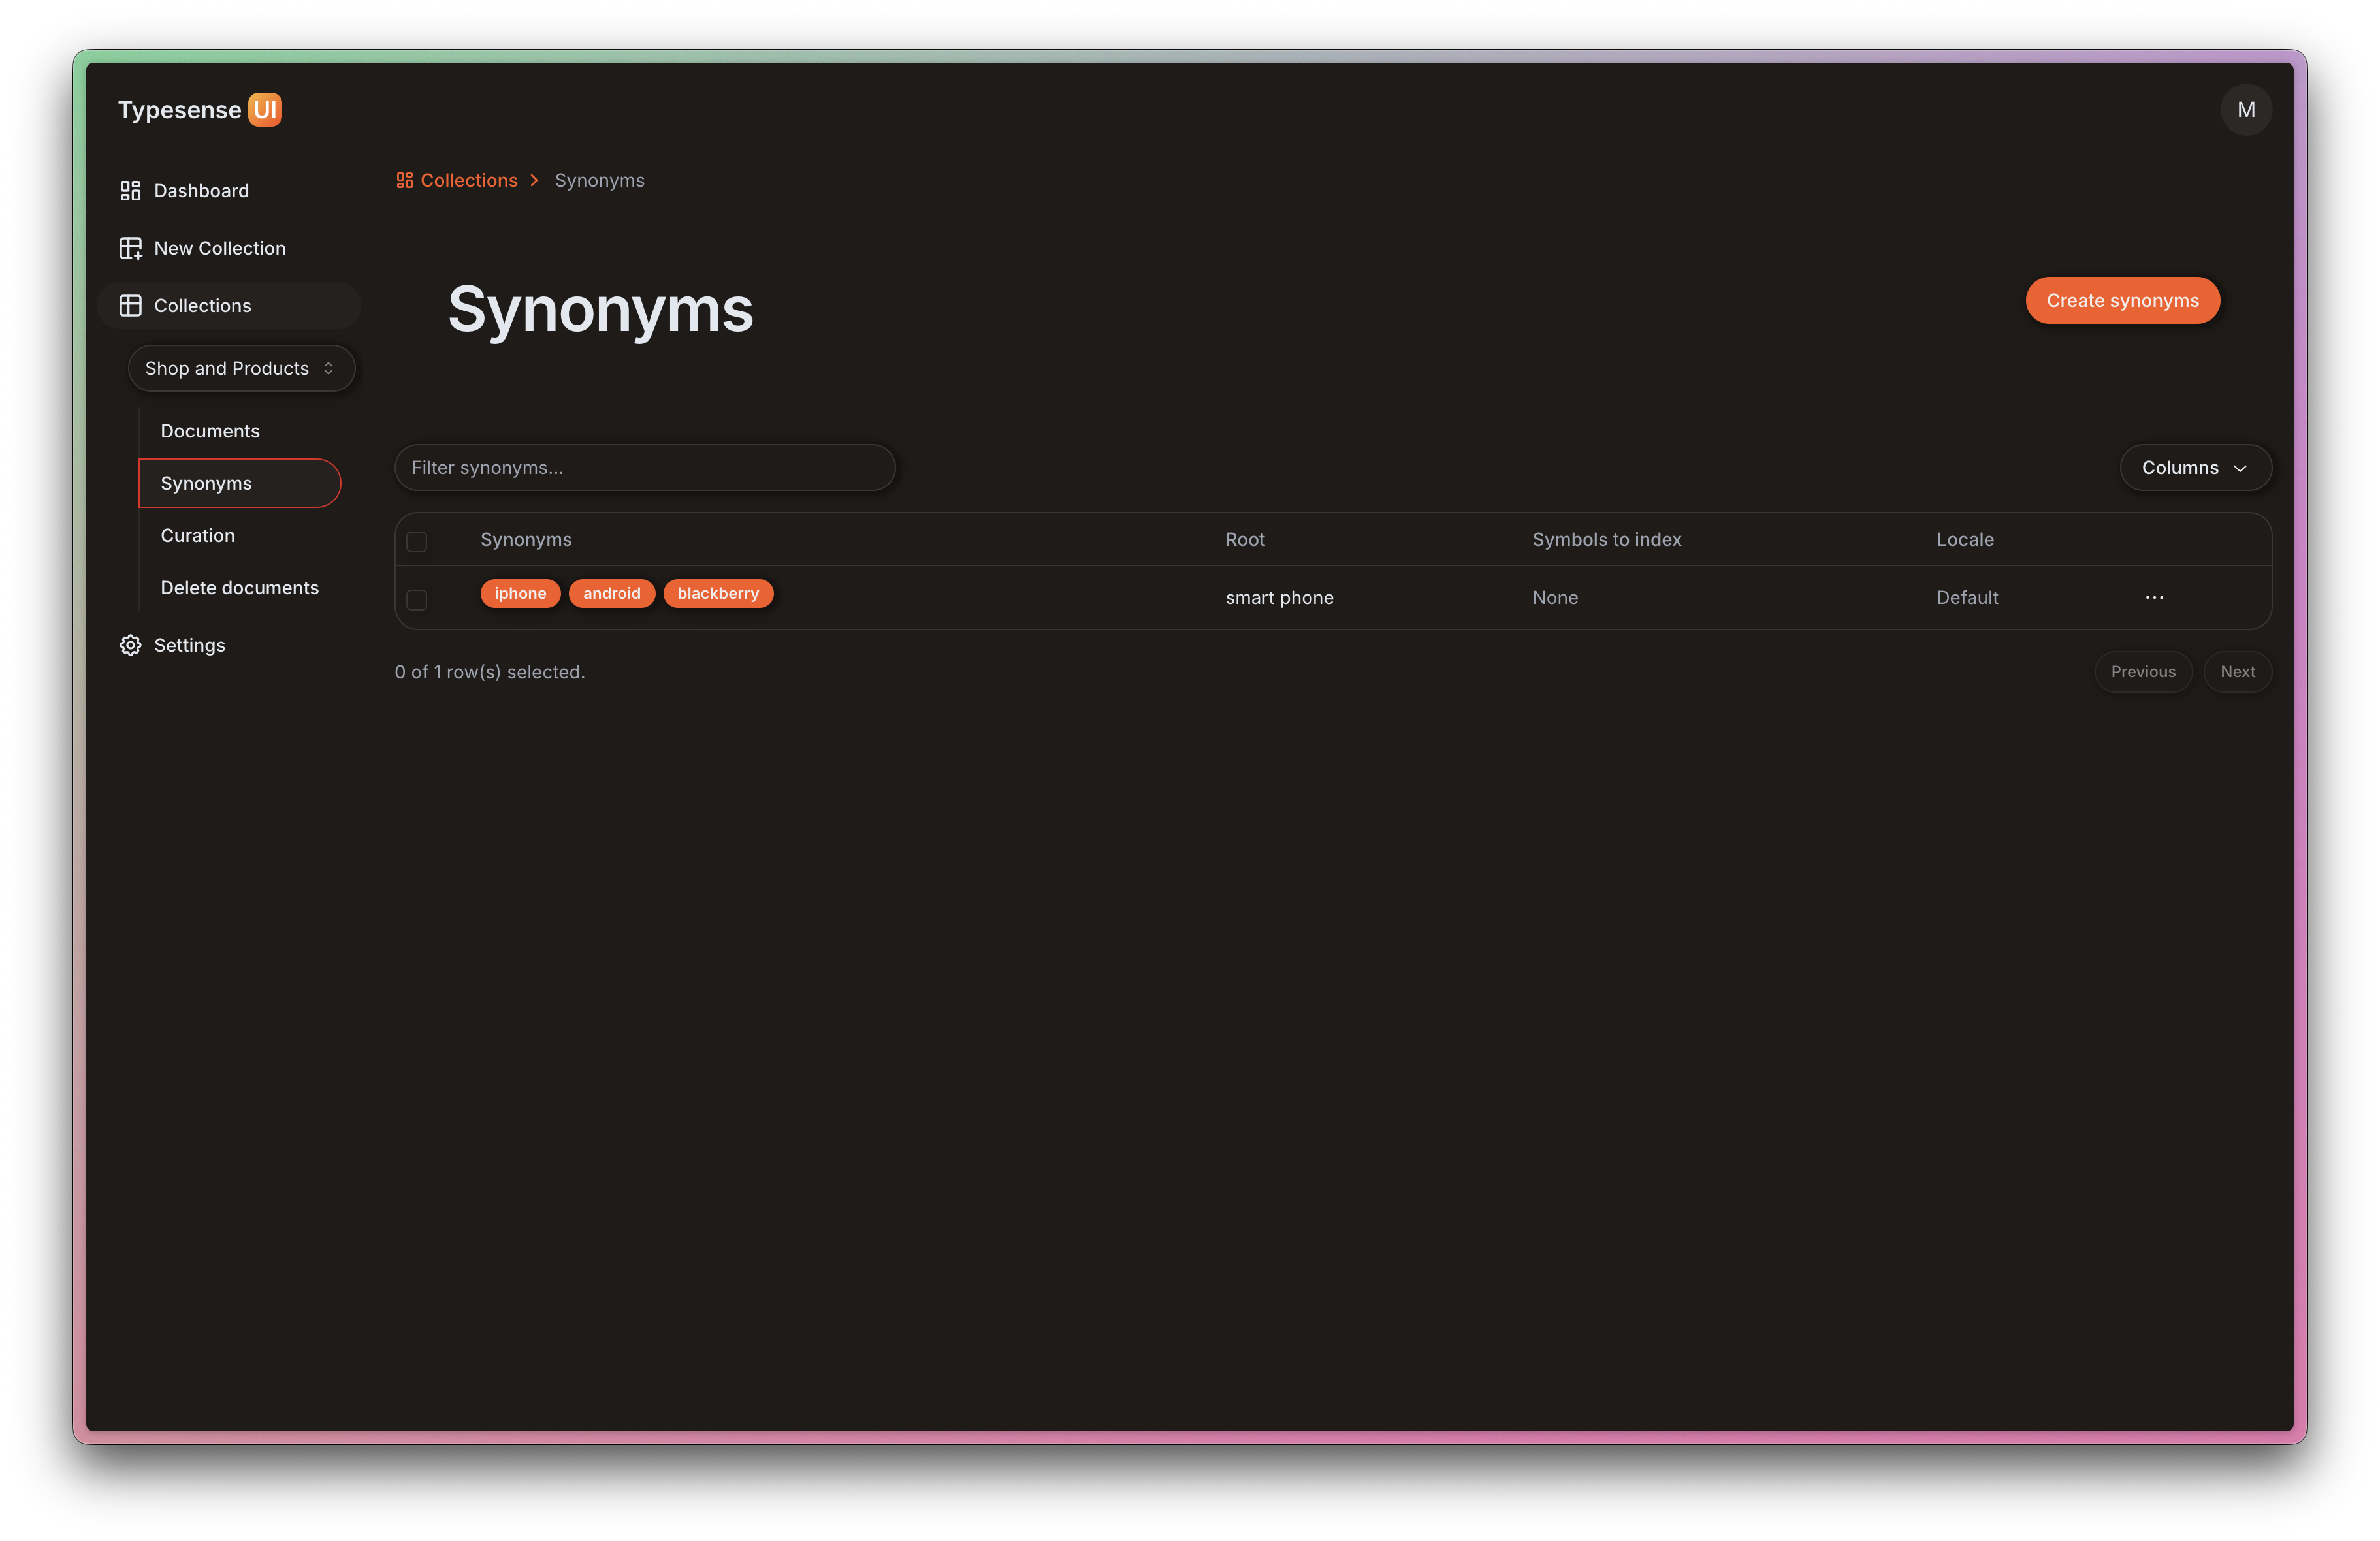
-
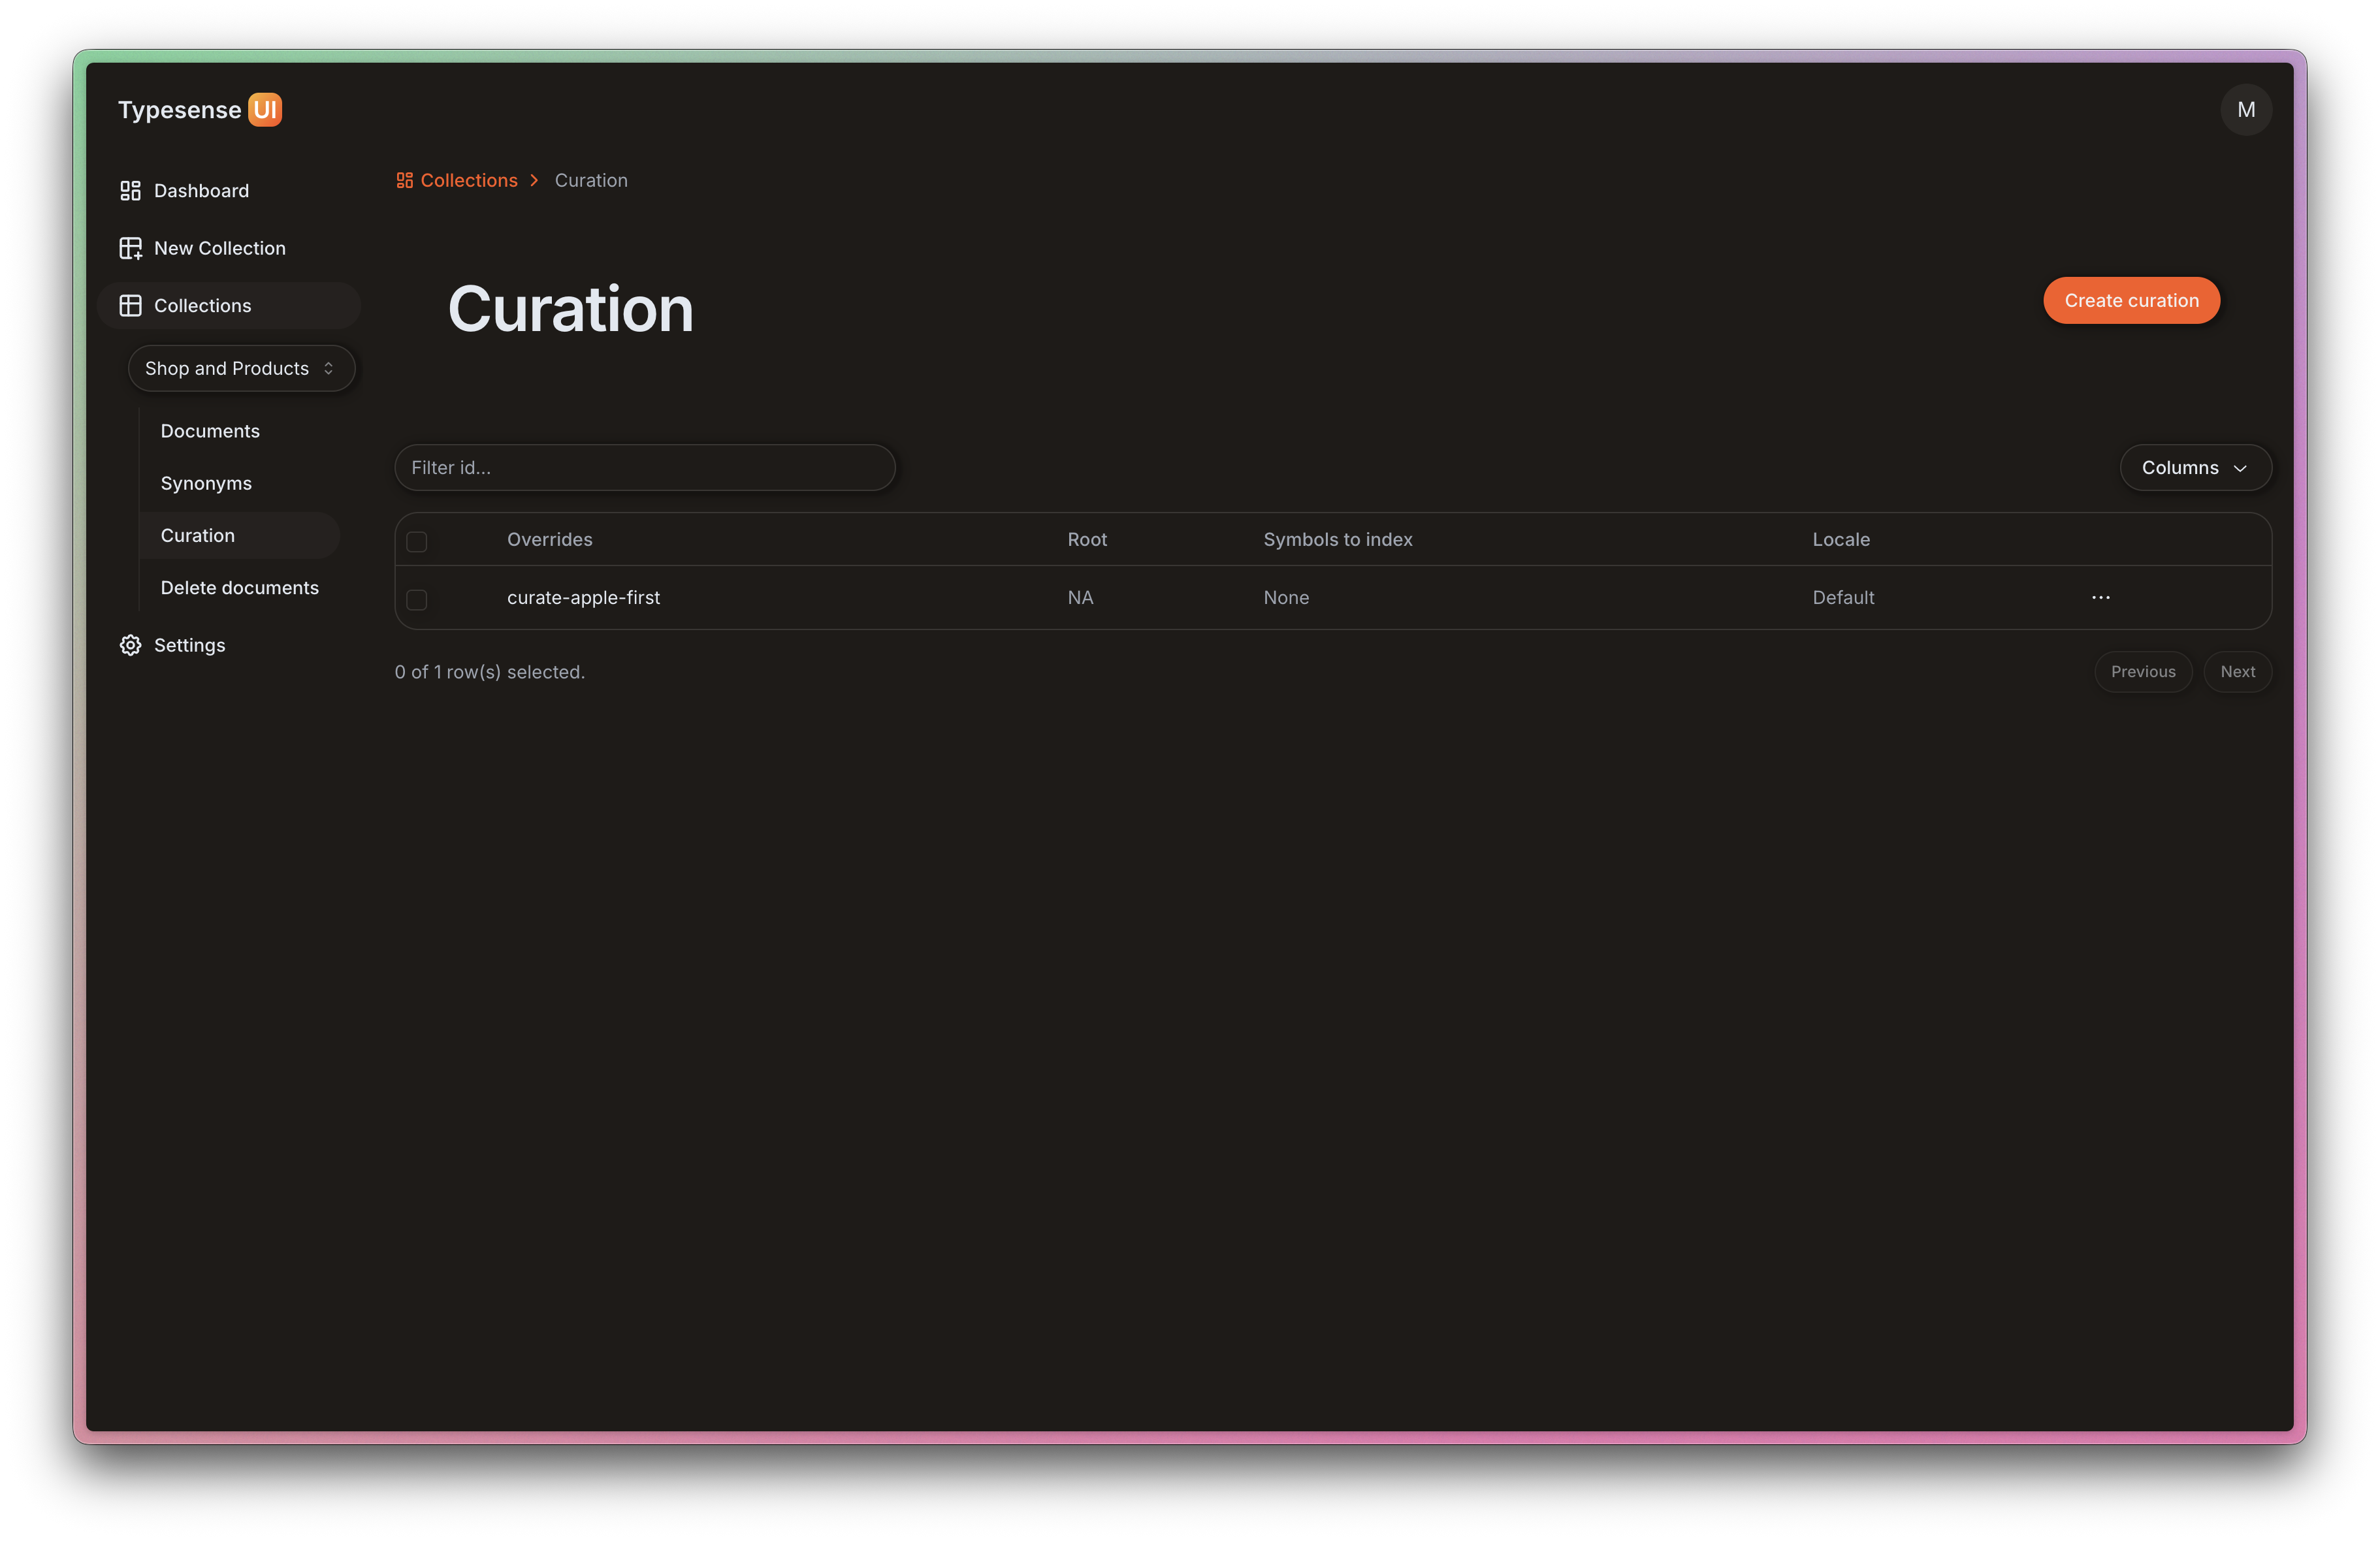
Curation List
-
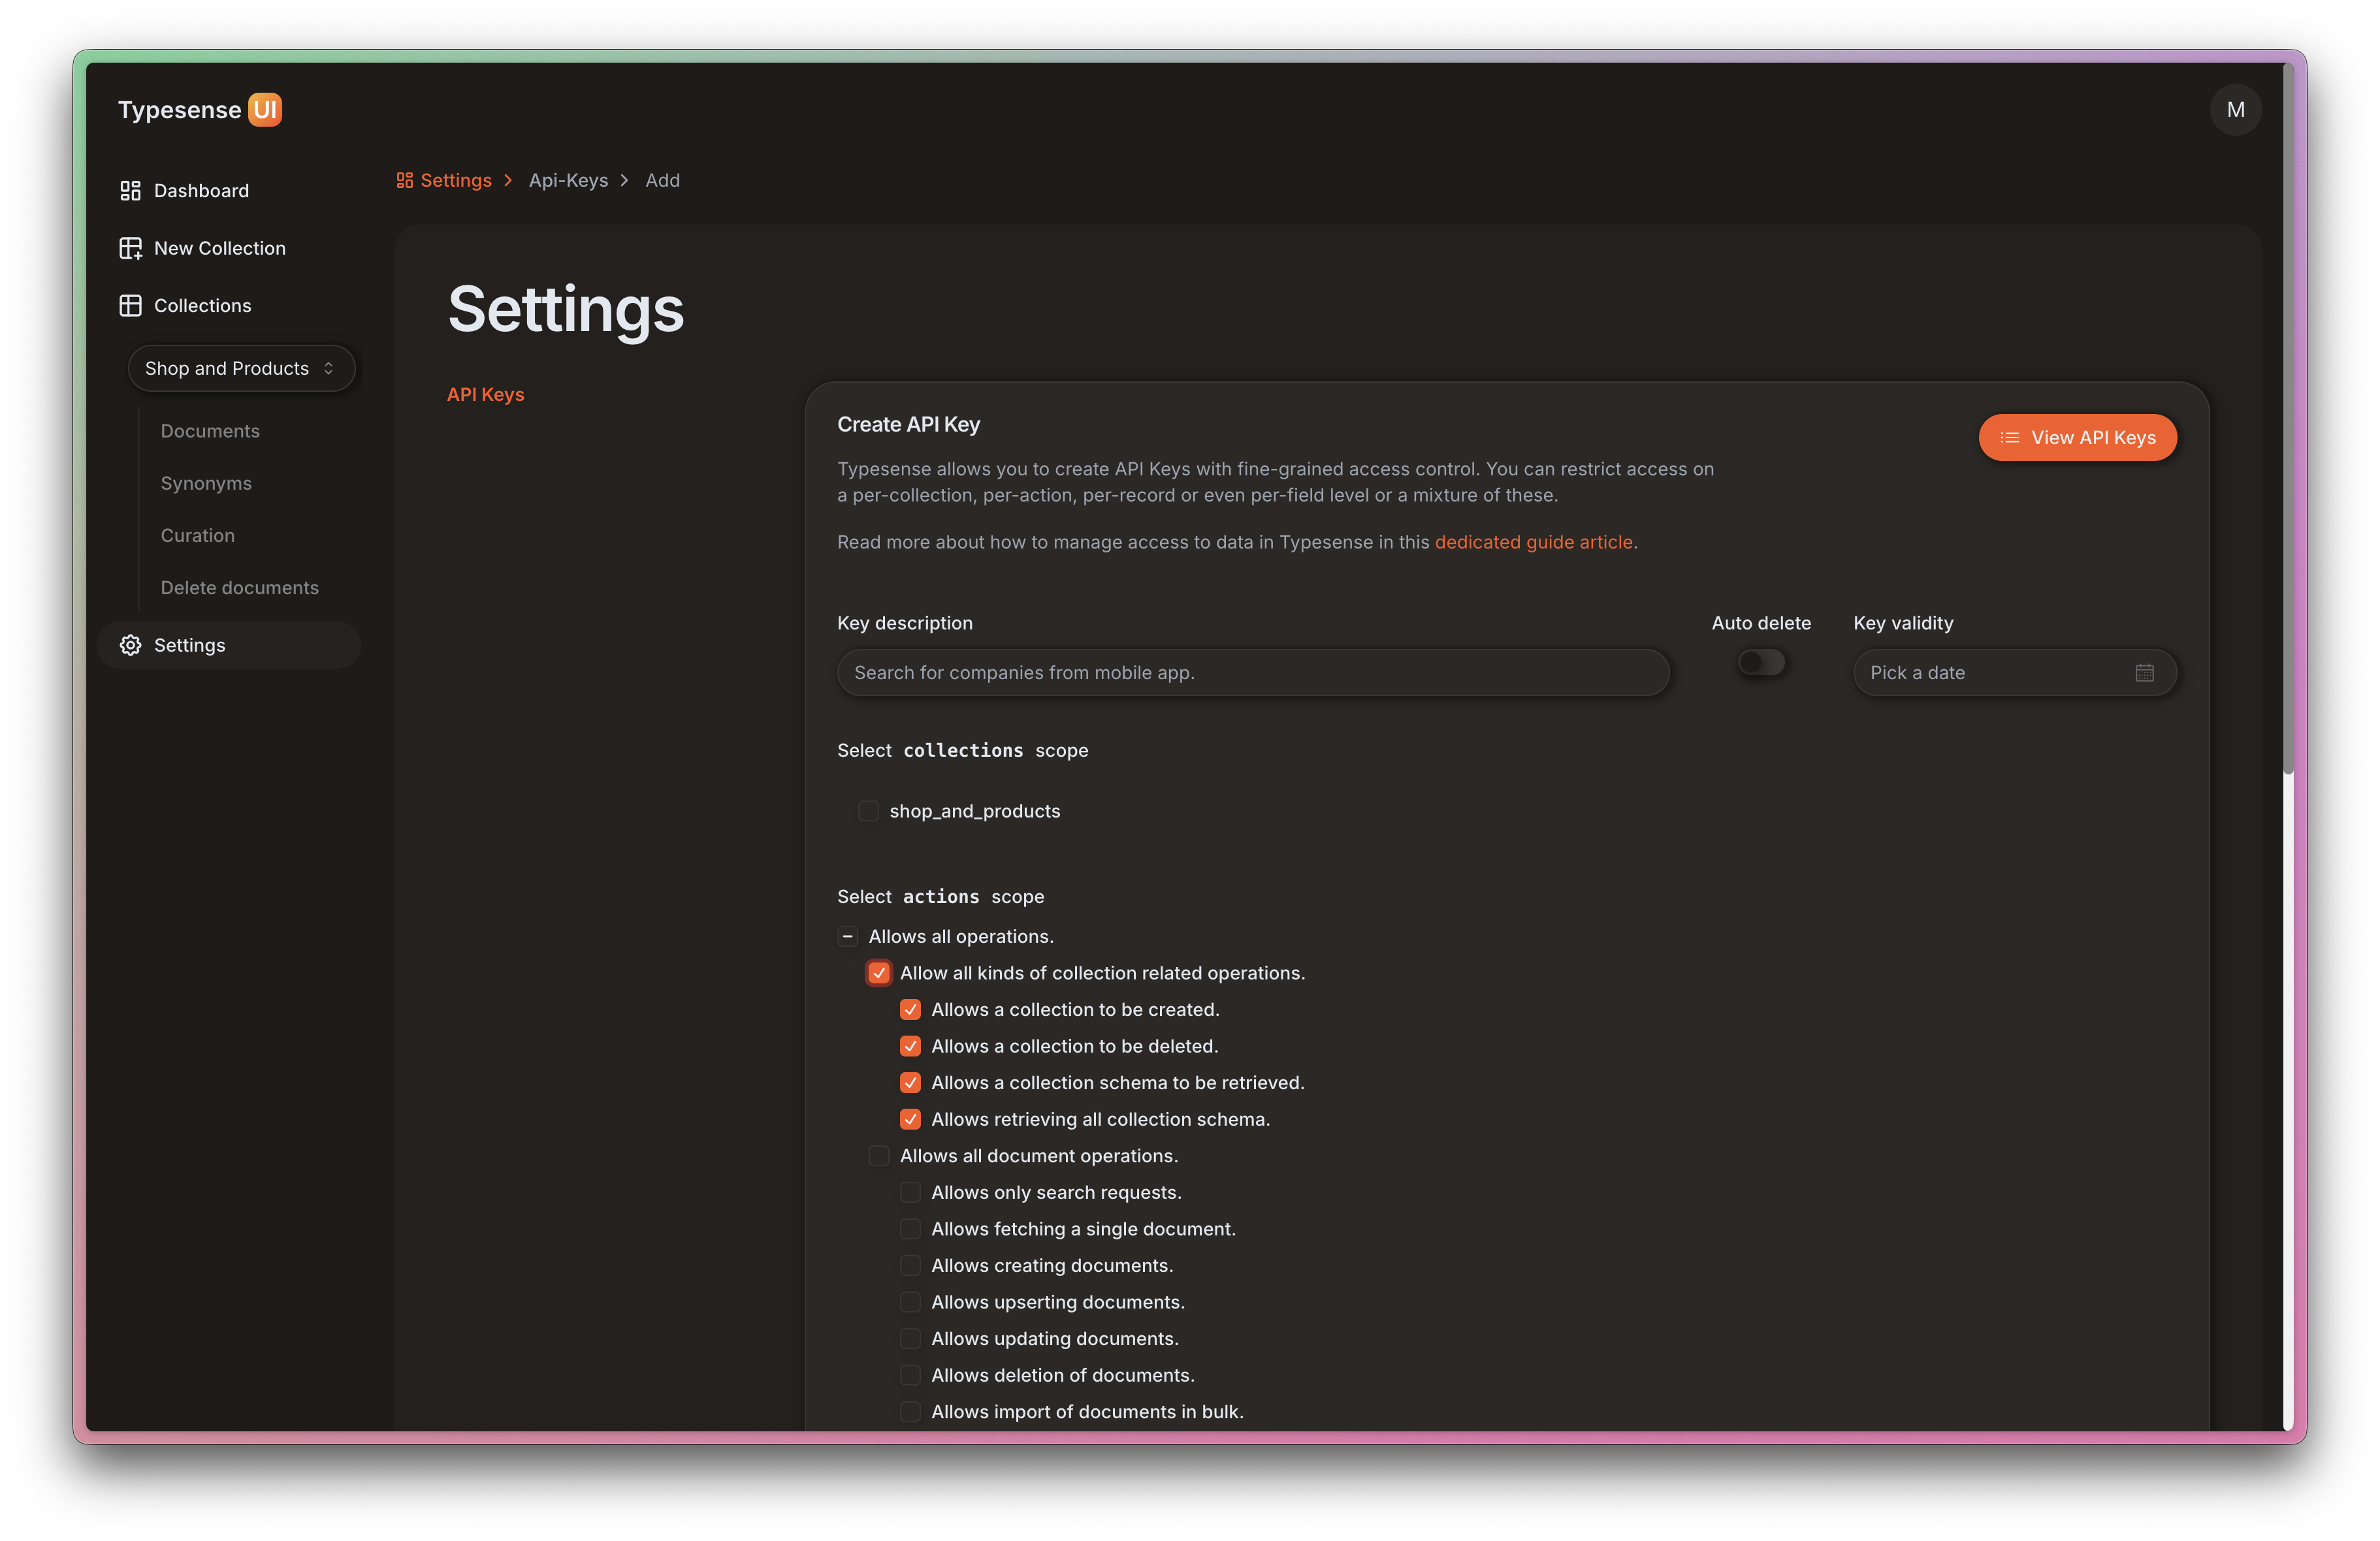
Crete API Key